
Ted’s Ginger Kombucha
So this little tidbit comes in 2 parts. Well, actually 3. First, I have the kombucha brewing process (which has 2 parts on its own) and then I have the ginger syrup part after that. Keep in mind that you can use the ginger syrup for many other applications. Also keep in mind that you can flavour the kombucha with anything you want, not just ginger!
So this little tidbit comes in 2 parts. Well, actually 3. First, I have the kombucha brewing process (which has 2 parts on its own) and then I have the ginger syrup part after that. Keep in mind that you can use the ginger syrup for many other applications. Also keep in mind that you can flavour the kombucha with anything you want, not just ginger!
The Kombucha
What you will need:
Tea (green, black, white, orange pekoe, or any kind which has caffeine in it)
Demerara Sugar (any natural sweetener of your choice will work)
Water
About a cup of kombucha from a previous batch
Kettle
A large glass container with a wide mouth on it
Tea towel or cheese cloth
Elastic
Strainer
Flip-top bottle(s)
A funnel or a container with a spout (for pouring into the bottle after)
And last but not least, the SCOBY (Symbiotic Culture Of Bacteria and Yeast) or “mother” as it is sometimes called (doesn’t look anything like my mother though :-)
|
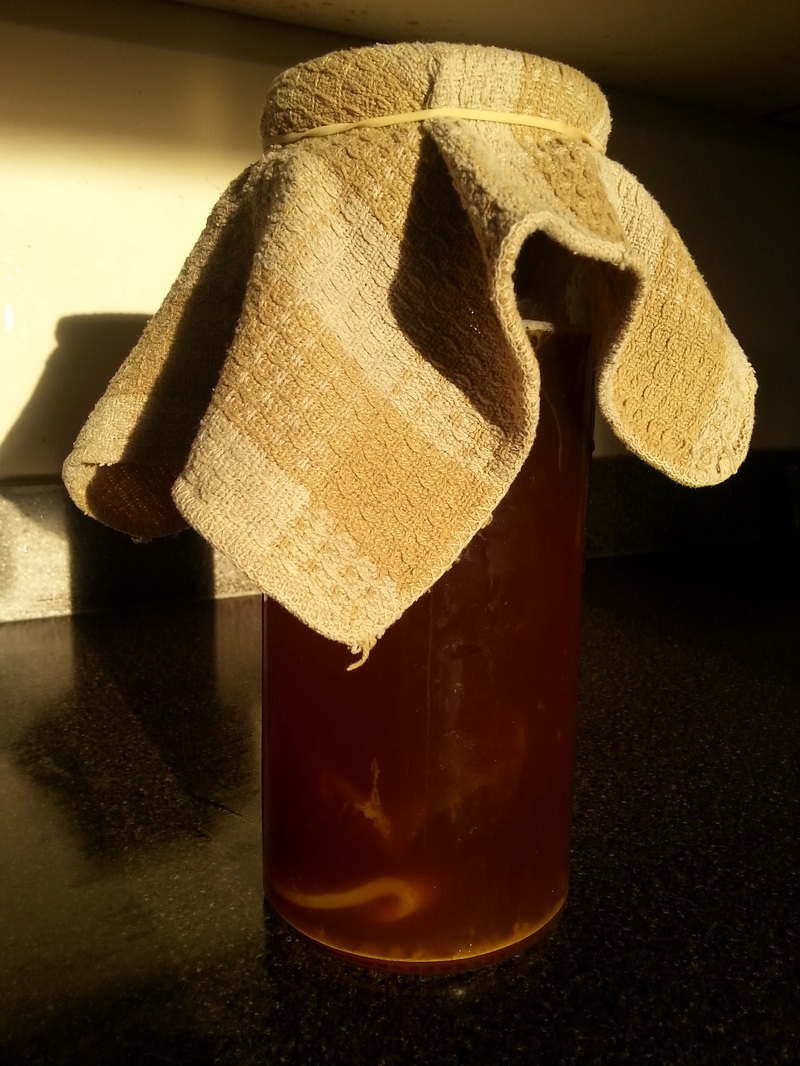
Primary fermentation (aerobic)
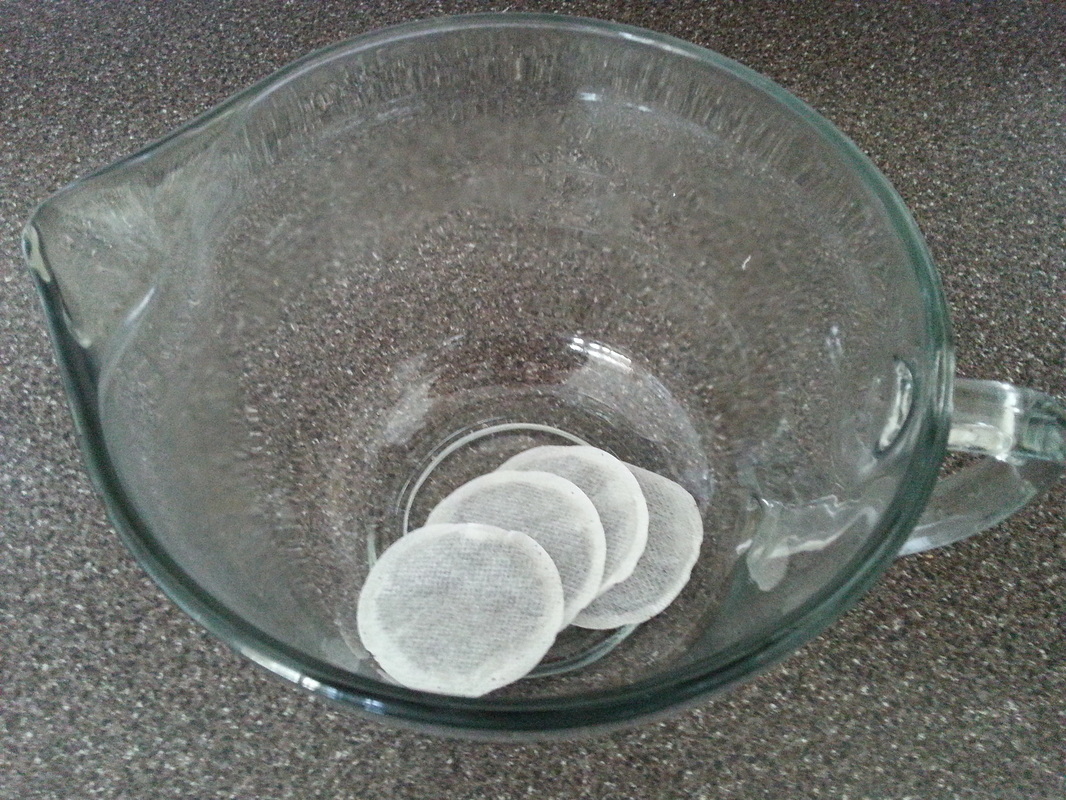
First, clean and sterilize all your equipment.
|
|
|
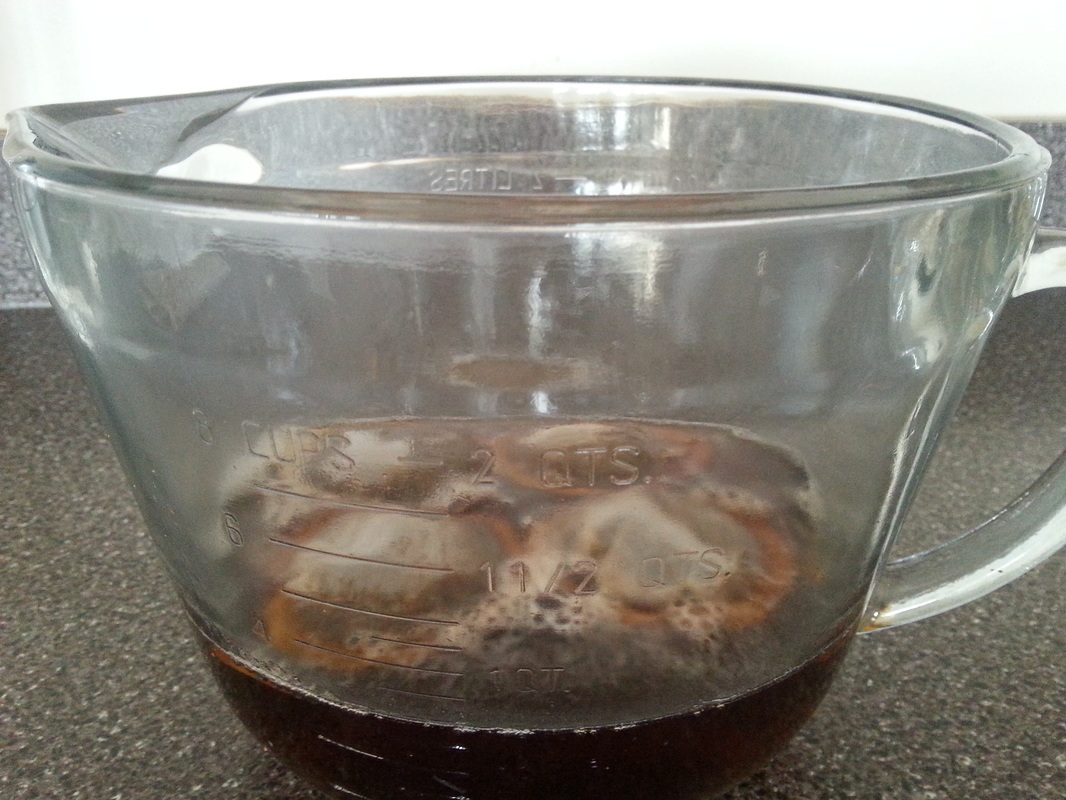
Now place your batch in a relatively warm area of your house and wait. Allow the brew to sit for about 10 days for a sweeter batch, or up to 30 days if you like your kombucha more acidic.
|
|
Secondary Fermentation (anaerobic)
After the initial fermentation process is complete, you have straight kombucha. After straining, this can be consumed without proceeding any further. The next step, however, will allow you to infuse it with whatever flavour you wish. It will also begin the process of anaerobic fermentation, which will give your kombucha its carbonation. The longer you ferment and the more sugar you add, the more carbonation the kombucha is likely to contain.
Note: Be aware that you must vent your bottle periodically (at least every 8 hours or so while at room temperature) in order to avoid building up too much pressure inside the bottle.
Directions:
- Now that your container has sat for a number of days, take the tea towel and elastic off and strain through a colander. Save the scoby or ‘mother’ for a future batch by placing it a glass container and immersing it in some leftover kombucha. You can store this in the fridge (The cooler temperature will prevent any further fermentation for now).
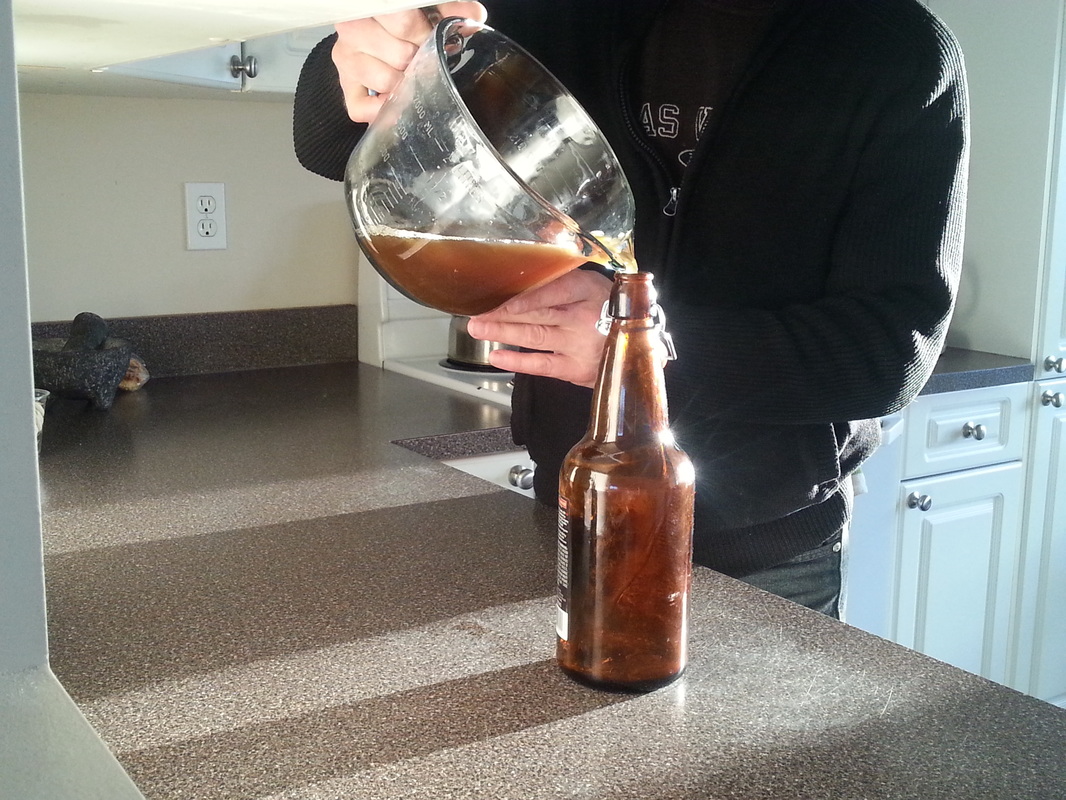
- Strain your batch of kombucha through a colander to eliminate any remnants of the scoby. Don’t worry if you miss any, they won’t harm you as it’s nothing but pure probiotics! Use a large bowl that has a spout. You will need this spout after in order to be able to pour the kombucha into your bottle. If you do not have a bowl with some sort of spout, make sure you have a funnel of some sort.
- Now you are ready to add in your sweetener of whatever flavour you choose. As for the proportions to add, experiment around. The amount will not affect the quality of your brew, just the taste. Generally, if using fruit juice, I would make it about 20-40% of the final product. For this recipe we will be using my home0made ginger syrup (Read further for the simple recipe for Ted’s Ginger Syrup), in which case the quantity will be smaller due to the high concentration of sugars.
- Add into your kombucha the ginger syrup. It should amount to about 15-20% of the final product. Then stir.
|
|
|
Ted’s Ginger Syrup
This is a very simple and easy to prepare syrup and can be used as a flavouring in all sorts of dishes including kombucha, baking and Asian stir-fry’s (in conjunction with soy sauce). It can also be used as a pancake topping to add a little zip to your morning. Kids’ love it!
What you’ll need
Ginger grater
A heat-proof bowl with pouring spout
Medium sized sauce pan
Colander
Filtered Water
Demerara sugar (or other natural sweetener)
Directions:
- Grate about 2 cups worth of ginger into your sauce pan
- Add about 4 cups of water
- Turn on to medium-high heat until boiling
- Turn down heat and allow to simmer for about 15-20 minutes
- Remove from heat source and strain through colander into heat-proof bowl
- Allow the colander to sit with the grated ginger until cool so that you can squeeze out the remaining ginger juice as this has the most flavour! Make sure it is cool enough to touch if using your hands!
- Now take the ginger liquid and pour this back into your rinsed-out pot
- Add about 4 cups of demerara sugar and place back on heat source--this is where you will be reducing the liquid (for more on how reduction works, click here)
- Allow to cook on medium-high heat (depending on your stove) stirring occasionally to make sure nothing burns.
- Once the liquid begins forming bubbles that take more than a few seconds to pop, your batch of ginger syrup is should be the right consistency. If you like thinner syrup decrease your cooking time. For thicker syrup place back on heat source.
- Allow to cool and then pour into a bowl with a spout. From there you can store in whatever you like to use as a syrup dispenser.
- Enjoy!
